How To Make Vinyl Letters Stick To Wood? | Palmgear
by Alice Davis
Are you having a hard time making your vinyl design stick to wood? Do you wish you could find a trick that makes the vinyl stick to the wood surface like magic?
If yes, this guide is for you.
We’ll walk you through some crucial steps to follow to enable that vinyl design stick on the wood surface permanently like it was painted on the surface.
Contents

Why Vinyl Won’t Stick To Wood
Let’s first understand the cause of your frustration when you try to stick vinyl letters and shapes on wood surfaces.

Wood—whether raw, unsealed, plywood, or even painted plywood—isn’t one of the best substrates for vinyl. As we all know, vinyl is an adhesive-backed film that must form a firm bond with any given substrate (surface) for it to stick to it and last for long.
The ideal substrate should be extremely smooth. Examples of the perfect substrate include glass, foam core, corrugated plastic, and painted aluminum.
Wood, which naturally features a rough surface, is eliminated out of this equation as it can’t form a strong bond with vinyl. Even thigh vinyl shows the intention of sticking initially, it’s going to come off sooner than you can imagine.
Luckily, there’s a way around it. You can make the wood surface a better substrate for your vinyl design, as explained in the next section…
How To Make Vinyl Stick To Wood
Get Your Supplies Right
FIRST things first…you need to ensure you have the correct list of supplies if you intend to make a design for sticking on wood surface.
We all know that there are many types of vinyl. And selecting the right type of vinyl for this particular project is one of the top tricks to getting it to stick on the wood.
That said, the two most suitable types of vinyl for wood projects include stick and iron-on.
Let’s briefly describe each of them below:
- Sticky vinyl: using the permanent vinyl increases your chances of having it stick to the wood surface compared to the removable type. If you’re planning to do something like a stencil, keep in mind that you’ll have issues with the removable vinyl sticking, …and you might experience issues removing the transfer tape.
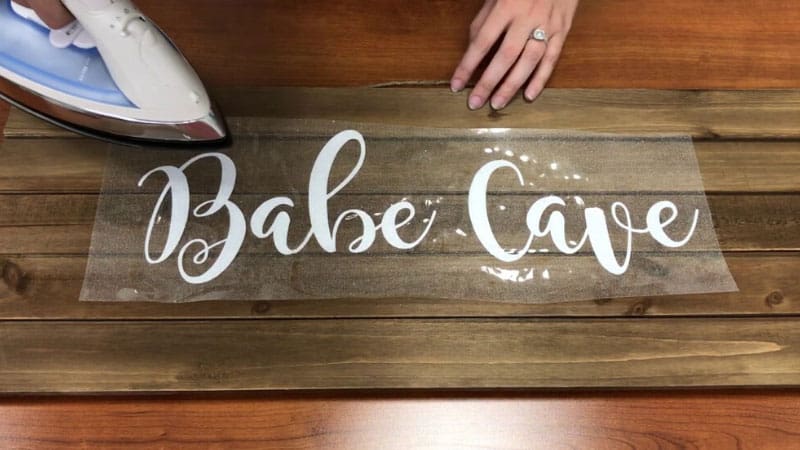
- Iron-on (or Heat transfer vinyl): this is probably the perfect vinyl to use on the wood surface. Needless to mention, this vinyl involves the use of heat to stick your design into place. It works like magic and sticks your letters onto the surface like they were painted on it. (we’ll show you how to do it the right way later in the post—keep tuned in!)
NOT just vinyl, you should also be careful of the type of transfer tap you use for the job.
Remember, the transfer tape plays the crucial task of helping you easily get the sticky vinyl off the backing paper and to the target (wood) surface with the design intact.

We highly recommend you to stick to the regular transfer tape if you want to enjoy a smooth, hassle-free transition of your letters/shapes. The strong grip tape is more suitable for glitter vinyl and might make your job harder.
One more thing: You’ll also need a vinyl cutter to help you accurately cut out your desired artwork and designs out of the vinyl material. If you don’t have one, check our vinyl cutter reviews to help you find the perfect model for the job.
Steps to make vinyl letters stick to wood
1. Sand it
The first step to making your vinyl image stick on that wood surface is to turn it into an ideal vinyl substrate. And to do that, you’ll need to sand it. Sand and sand it until you have eliminated all the roughness and unevenness on the surface.
In other words, you want to sand your wooden surface until it feels super-soft to the touch. The more you do it, the better.
And when you’re done sanding, be sure to eliminate all the sawdust and residue on the surface and head over to the next step.
2. Seal it
The next step involves treating (or sealing, if you like) the wood surface to make non-porous. Here, you’d want to use a coating or primer that the vinyl letter can easily grip and make a strong, lasting bond.
You might consider using polyacrylic, acrylic paint, or wood stain. You can easily find any of these at your favorite crafts store.
Once you have coated your surface with any of the above sealants, you’ll need to give it up to 24-48 hours to cure correctly and completely before moving to the next step.
(you can check what the manufacturer states regarding the curing period for the coat you used).
3. Apply your design.
At this step, you have made your wood suitable for sticking vinyl by smoothening it out and sealing it.
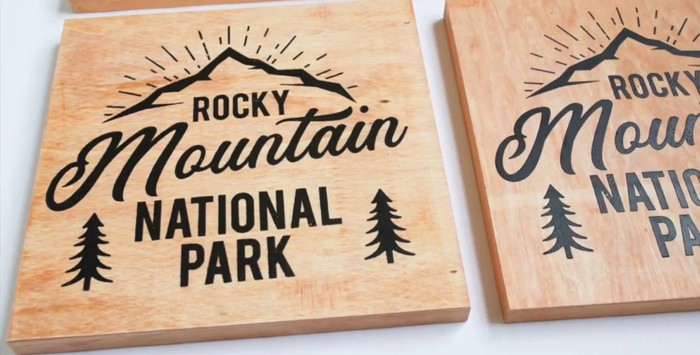
All that’s remaining is to apply your vinyl letters and shapes to complete your craft project.
Apply the vinyl juts like you’d for any other surface, and make sure you firmly press it into place to eliminate any bubbles that might weaken the bond between the two surfaces.
Using a squeegee or an old credit card will come in handy for this step.
Make Vinyl Stick to Wood (Using HTV)
The guide we’ve just discussed above involves using the sticky vinyl type. But we said that you can also use HTV type of vinyl for wood surfaces.
Here’s how to stick iron-in vinyl on your wooden surface:
1. Sand it.
For this type of vinyl, you’d also want to start by sanding your wood surface to make it smooth and even.
2. Apply the vinyl.
Next, you’ll need to apply your vinyl letters on the surface you have just sanded above. Apply your HTV on the wooden surface. Then, grab your heated iron and slowly iron your HTV, one section at a time.
AVOID wriggling your iron when ironing as this can make your decals shift under the iron and produce undesired results.
Also, consider using a pressing cloth or Teflon sheet during ironing to help protect the wood around the design.
3. Peel off the backing paper.
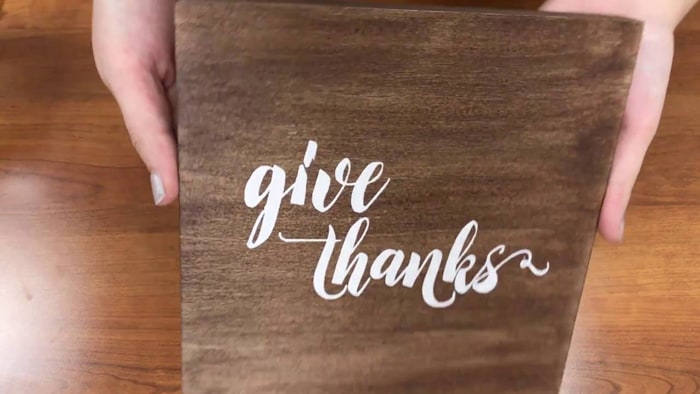
Give it a few minutes and then peel off the backing paper so that you’re left with your design stuck on the wooden surface.
Make it Stick!
If you are having challenges making vinyl letters or shapes stick on a wood surface, this guide will show you how to do it the right way.
Basically, you need to start by preparing the surface for vinyl sticking by thoroughly sanding it and then treating it with a base coating. And when applying your vinyl design, don’t forget to use a squeegee to help you smoothen things out and achieve great-looking results.
Don’t forget to use the right supplies for the job if you want your vinyl to firmly bond with the wooden surface and last longer.
 |
 |
 |
 |
 |
 |
 |
 |

About Alice Davis
Alice is a writer who lives in the City of Long Beach. She has a husband, an exceptionally small chihuahua, and 15-pound Maine Coon. Alice got her bachelor of science in biological science from UC Berkeley. Now, she likes writing about a lot of things; including but not limited to technology reviews, science stuff, and anything food-related.
Leave a Reply
You can get FREE Gifts. Or latest Free phones here.
Disable Ad block to reveal all the info. Once done, hit a button below
 |
 |
 |
 |