How Can You Make Stickers With Vinyl Cutter?
by Alice Davis
Stickers make up the list of some of the most popular crafts. They enjoy many, many uses in different fields—including decorating, personalizing, labeling, customizing, advertising, and more.
Even better, you can make a living making vinyl stickers with your vinyl cutting machine and selling them on Etsy, or to local events, your friends, etc.
If it’s your first time trying to make stickers with the vinyl cutting machine and don’t know where to start, the following guide will show how you to do it from start to end.
Contents

What do you need to start making DIY stickers?

Just like any other task, making custom vinyl stickers requires you to have a number of tools for the job.
Make sure you have the following before you get started:
- A computer to help you choose and edit your design or artwork
- The best vinyl cutting machine for stickers
- Design software (for designing your stickers)
- Printable vinyl material
- Clear vinyl laminate (optional. Ideal for adding durability to outdoor stickers)
- Inkjet printer. A color inkjet printer is better as it enables you to make colored custom stickers, unlike the black and white models.
- Application tool to help you burnish vinyl and seal it into place. You can use an old credit card or plastic scraper for this job
- Cutting mat. Consider getting a machine that comes with a cutting mat to save you from buying one later one.
Once you have all your equipment and suppliers together, you can go ahead and start the vinyl cutting process…
Steps To Making Stickers with Vinyl Cutter
Step 1: Create the design to be printed
The design simply refers to whatever you plan to be print on those stickers you’ll be creating. So, you need to figure out what you need your stickers to look like.
When it comes to creating a design, you have several options at hand—you can use an existing design saved on your computer, create one from scratch, or choose one from the library of your photo editing app or machine cutting software.
Regardless of what design option path you take, you’ll need a design software to help you easily prepare your stickers for printing.
Step 2: Prepare the stickers for printing
When your design is ready, import it into your design software to prepare it for printing.
Assuming you’re making a ton of stickers, we advise you to try fitting as many of the stickers as possible on one page. You can arrange them on a neat grid (if you intend to sell them) or rotate and move them around to ensure you make the most out of your vinyl.
Why should you do this? It’s simple…your vinyl paper costs you a lot, and leaving blank space means wasting the paper. If you do your maths, you realize that this is sure to cost you way more in the long run.

Use the cutting software to set the cut lines, color settings, and make all the other necessary changes to your stickers to prepare them for printing.
BEFORE you start the printing process, we suggest that you do a print preview (a good editing software should provide you with this option). This will show you how your final product will look like, and help you fix any mistakes you don’t want to appear on your final print.
You’ll also need to check (on the preview screen) how stickers will fit on your final print. In case you notice that a few of them sticking out of the cutting line, go back and try creating more space for them. As we said earlier on, it’s all about making the most out of your vinyl paper!
When you’re satisfied with how the preview looks, you can then move on to the next step…
Step 3: Print the stickers
At this point, you’d want to load your vinyl material into your inkjet printer to begin the printing process for your stickers.
Make sure you place the vinyl paper correctly so that the ink gets printed on the matte side of the vinyl.
Quick TIP: If you doubt whether you have loaded your vinyl paper correctly, consider running a test print on a regular sheet of paper first. Printing on the wrong side of your vinyl paper means it becomes a total waste, and you’ll have to get a new one. This is a costly mistake you can’t afford to make.
When you have confirmed that you have done everything right, hit the PRINT button to send your project to the printer.
Step 4: Apply laminate vinyl to your stickers (optional)
The durability of the vinyl paper you just used to make stickers in the above step can’t be compared to that of regular adhesive vinyl.
When left on its own, the paper will last for a pretty short period of time and won’t be able to resist water or moisture.
Simply put, your stickers will deteriorate quickly, especially if you place them outdoors.
This is where the vinyl laminate comes in…
It helps add durability to your stickers. It enables it to withstand harsh weather elements, and last longer (up to 5 years).
Applying the laminate overlay to your printed design is quite easy, as shown in the quick steps below:
- Place your printed design on a flat, solid surface
- Choose any edge to start from, and gently begin peeling the backing off your vinyl laminate. Consider peeling off an inch or so to start with.
- Next, line up the edge of your printed design with the edge of the laminate. Press down the laminate smoothly, making sure to leave no air bubbles or creases between the two surfaces
- Use the application tool (it can be an old credit card ruler, scrapper, etc.) to help smoothen the laminate onto your printed design as you pull away the paper backing.
With the application tool still in your hand, burnish the laminate onto your printed vinyl to help get rid of air bubbles and glue the laminate in place.
Step 5: Lastly, cut your stickers.
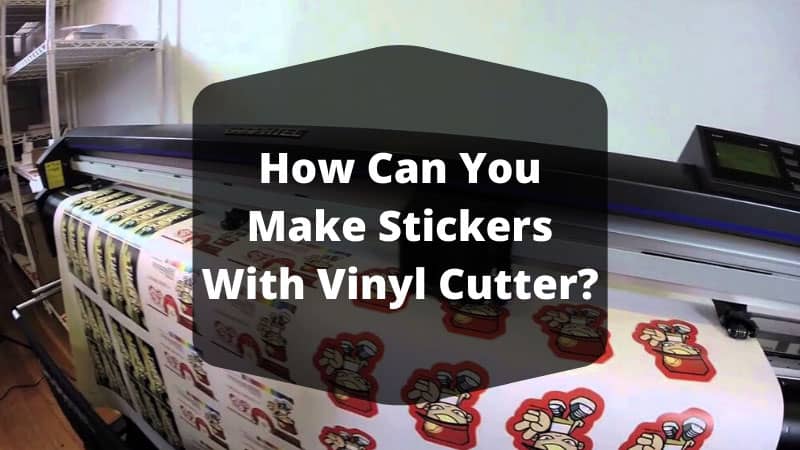
The last step involves cutting your stickers. And this is where you use your vinyl cutting machine…
Put your printed, laminated vinyl paper onto a cutting mat, and then load it into your cutting machine.
Assuming you’re using a Cricut cutting machine, you’ll need to select the mat size as well as the cut settings for the material before sending your file to cut.
The machine will use the registration marks printed on your vinyl paper to precisely cut around the edges of your design, giving you professionally cut stickers.
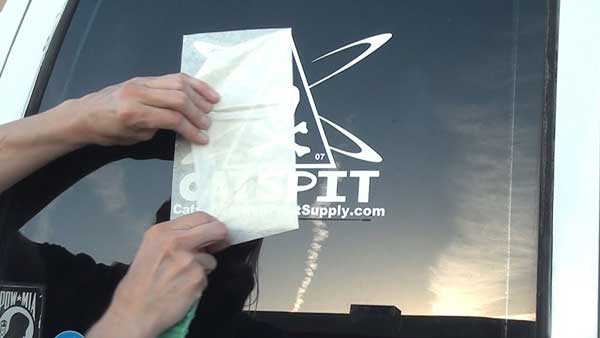
When the machine is done, you can then unload your printed paper design, peel off the stickers, and stick them on the target surfaces.
Ready to make your first bunch of stickers?
Of course, you should be fully prepared and ready to make your first line of stickers after reading our extensive guide above.
Before you get started, make sure you have all the necessary items we have mentioned above so that you don’t get stuck along the way.
And make sure you follow all the steps we have outlined in this guide to ensure you end up with good stickers that wow your friends and your clients.
 |
 |
 |
 |
 |
 |
 |
 |

About Alice Davis
Alice is a writer who lives in the City of Long Beach. She has a husband, an exceptionally small chihuahua, and 15-pound Maine Coon. Alice got her bachelor of science in biological science from UC Berkeley. Now, she likes writing about a lot of things; including but not limited to technology reviews, science stuff, and anything food-related.
Leave a Reply
You can get FREE Gifts. Or latest Free phones here.
Disable Ad block to reveal all the info. Once done, hit a button below
 |
 |
 |
 |